Serial Analyzer Cable


Visit my other pages:


The Adapter cable is easily built with with almost no tools except for a vise or large pliers to close the IDC D-connectors and a hobby knife to cut the cable.
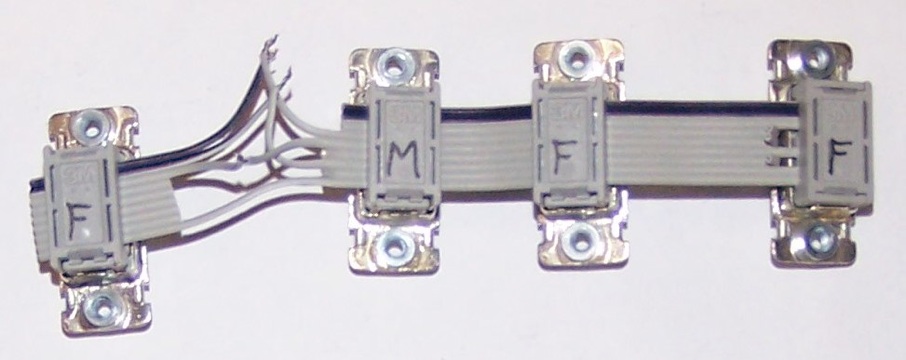
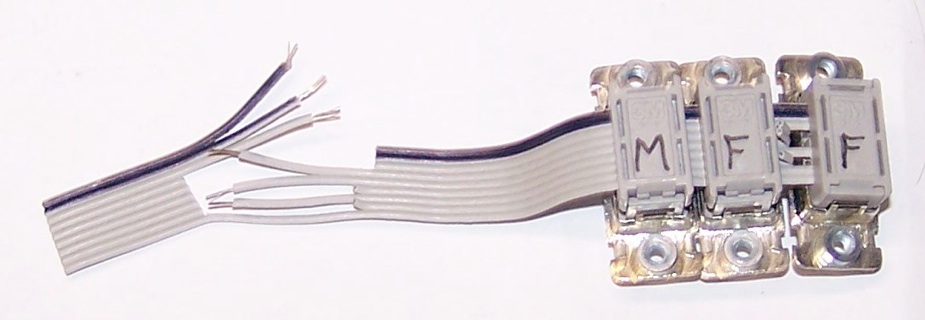
First crunch the right-most female connector onto the cable (picture with cable and connector pin 1 up).
Cut the three wires in the ribbon cable at the right as shown below, between the two female connectors.
If your DB-9 connectors are the type where you must slide the connector on the cable (in other words, you can not remove the back part of the connector) make sure you slide the next two connectors on the cable before you start making the cable cuts on the left.

Serial Analyzer Cable

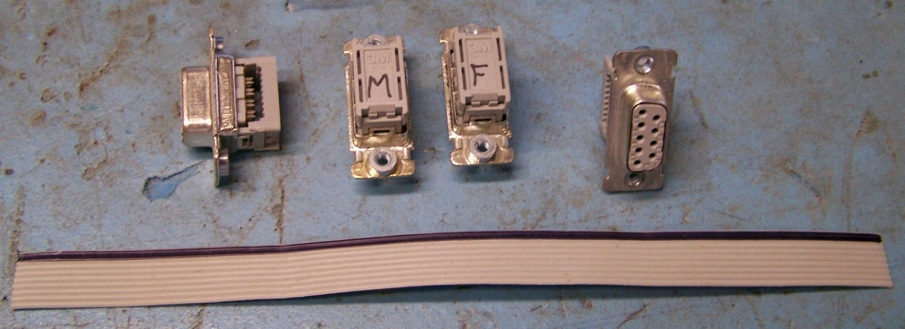
To build this cable you need a short length of 9-conductor ribbon cable, 5” to 8” will do, three female DB-9 connectors (as shown on the right below) and a male DB-9 connector. Here are some example connector part numbers, but don’t feel restricted to these part numbers, there are 100s of suitable connectors. You can optionally add the LEDs as shown in the schematic to make setup a little easer, but they are not required.
Male:
TE Connectivity
1658615-4
1658611-4
1658613-4
Female:
TE Connectivity
1658612-4
1658614-4
1658609-4
3M
8309-6000
8309-6003


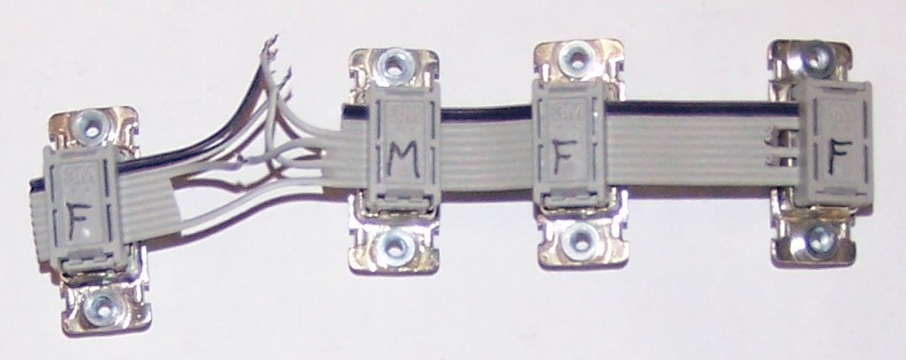
Trim the two unnecessary wires (counting WIRES form the top, numbers 6 and 8).
Strip the six ends as shown.
The finished cable should look like this picture below. The two connectors in the middle, J1 and P1, are for the RS-232 link under test, and the two connectors on the ends are connected to your Macintosh, using Serial to USB adapters, with the Serial Analyzer software running.
Solder, tape, hot glue or whatever to your liking!


Serial Analyzer Cable
